Sunday, April 22, 2012
Thursday, April 19, 2012
Tutorial - How to quickly make a banner from transparent foil
Hi there!
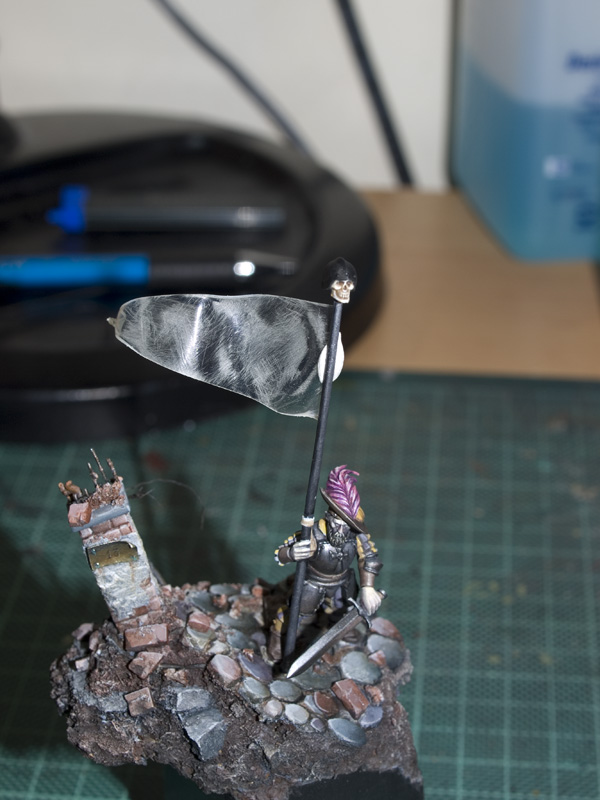
I'm painting an imperial standard-bearer at the moment for whom I decided to make a new banner, 'cause I wanted something more dynamic than the standard GW banners. Well, I got a tip to try transparent foil (I'm not sure if that's the right expression, it's the stuff on which you write and project it to the wall then ;)) and it turned out pretty good. I was wise enough to shot some photos in the process to be able to do this tutorial! :)
Ok let's start!
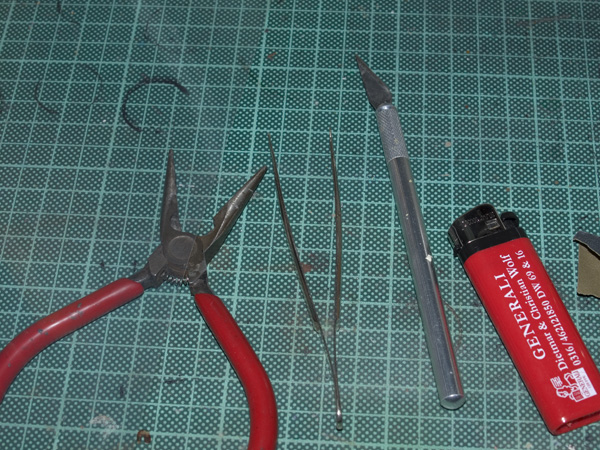
1) The tools you need: a caliper, a knife, tweezers and a cigarette lighter
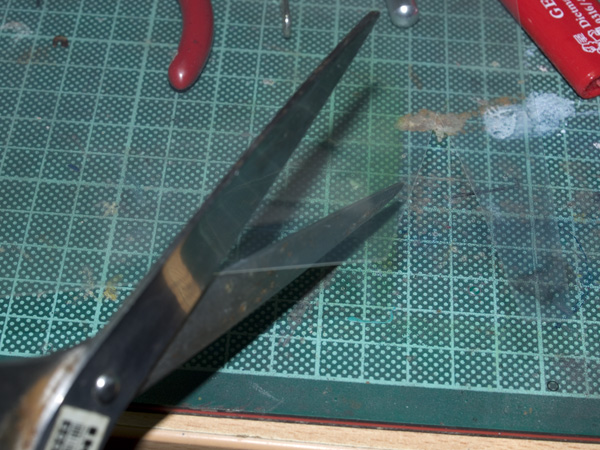
2) Cut the transparent foil into a shape you like. I chose a triangular one.
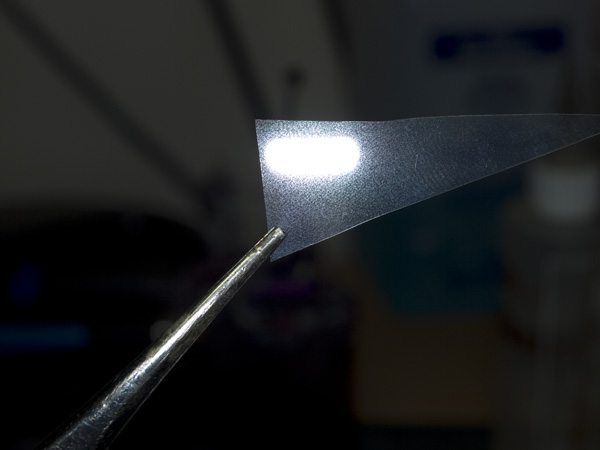
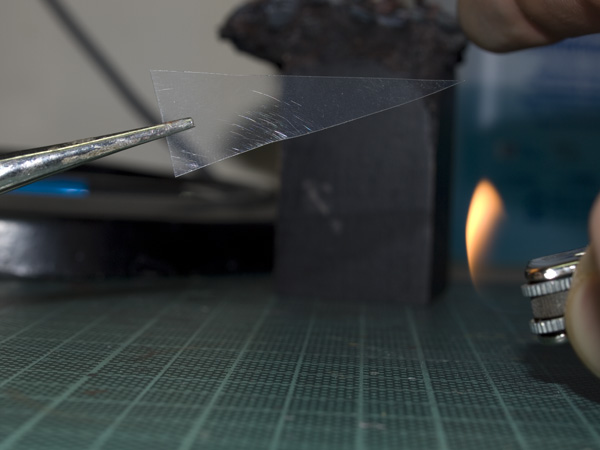
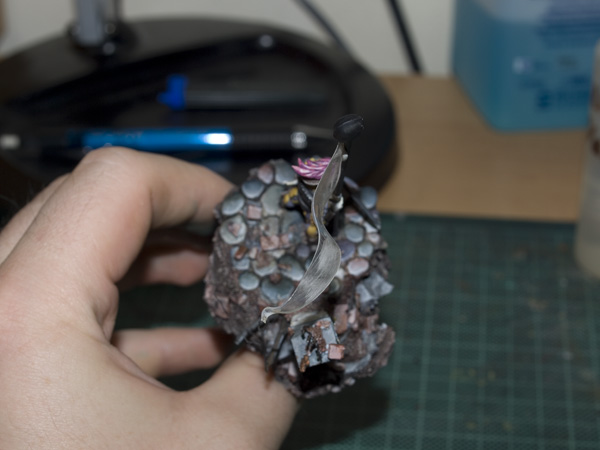
3) Now the tricky part. Heat up the plastic with the cigarette lighter. Don't get to close to it, you don't want to melt it. When you have the right distance it will start to bend after some time. It usually bends to the side where the heat comes from. Play with that to get the desired shape. You can use the tweezers here too, but you have to be quick! ;)
4) You should end up with something like this... (I already sanded it a bit here)
5) Attach it to the bannerpole. I used some pattafix here to try some angles before glueing it.
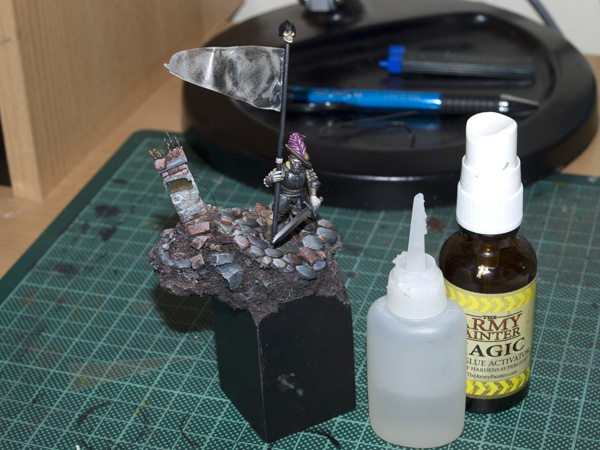
6) Then glue it on there forever. Superglue activator is really usefull here.
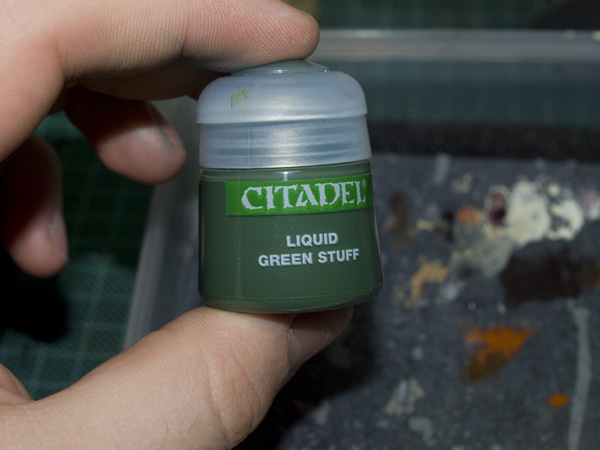
7) You may use some Liguid Green Stuff or some other putty you like to make the transition to the pole more convincing. I also gave it a thin coat to make the plastic a bit stiffer, but it didn't work. Maybe Milliput or Magic Sculpt would have worked better for that.
8) And that what it looks like after airbrushing...
The whole thing didn't take more then half an our to finish (even with taking photos in between).
So that's it. I hope I was able to give you some inspiration for future banners! ;)
Regards,
Androsch
Friday, April 6, 2012
Stegadon and FIMO-fun
Working on quick tabletop Stegadon at the moment. Lot of airbrushing done so far but it's still way to flat.
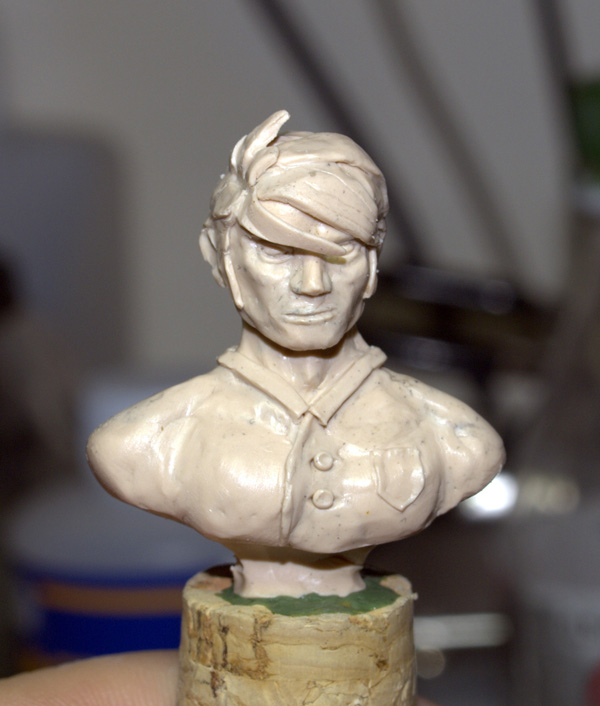
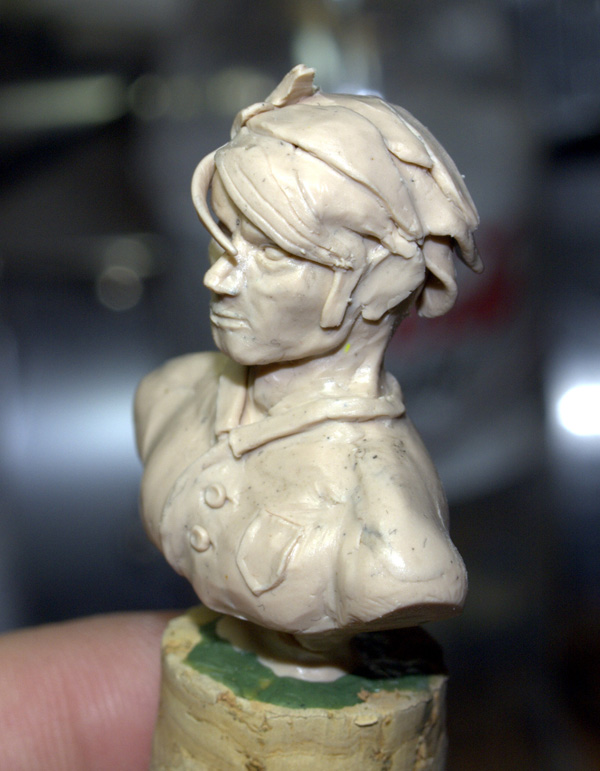
Also tried my best again at sculpting a new bust. Well... I really should have a concept next time. ^^
It's made with FIMO classic.
Cheers,
Androsch
Also tried my best again at sculpting a new bust. Well... I really should have a concept next time. ^^
It's made with FIMO classic.
Cheers,
Androsch
Subscribe to:
Comments (Atom)


